TechHub Exchange Portfolio
Character Artist
Jamellah Concepcion
Hello, I'm Jamellah Concepcion! a Grade 10 Maples MET Character Artist located in Winnipeg, Manitoba with 3+ years of experience using a software called Blender. I loved watching animated movies since I was younger. I love making stylized cartoon characters since that's the only thing I can do for now. Some of the areas I'm interested in learning more about are animating and designing environments.[email protected]
This Portfolio includes:
-What I did
-What I learned
-My Challenges
-My Next Steps
-What I like about TechHub Exchange
-My Struggles in TechHub Exchange
Project References
Character Modelling, Environment Design and Animation
Model 3 - 5 Characters (Blender)
1-6 Environment Design (Unreal Engine)
Animate all characters with stories
What I did:
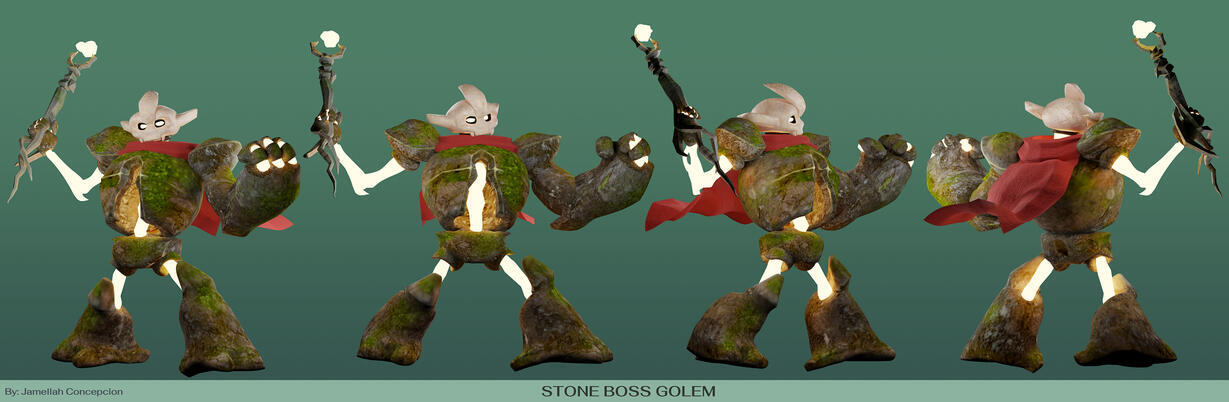
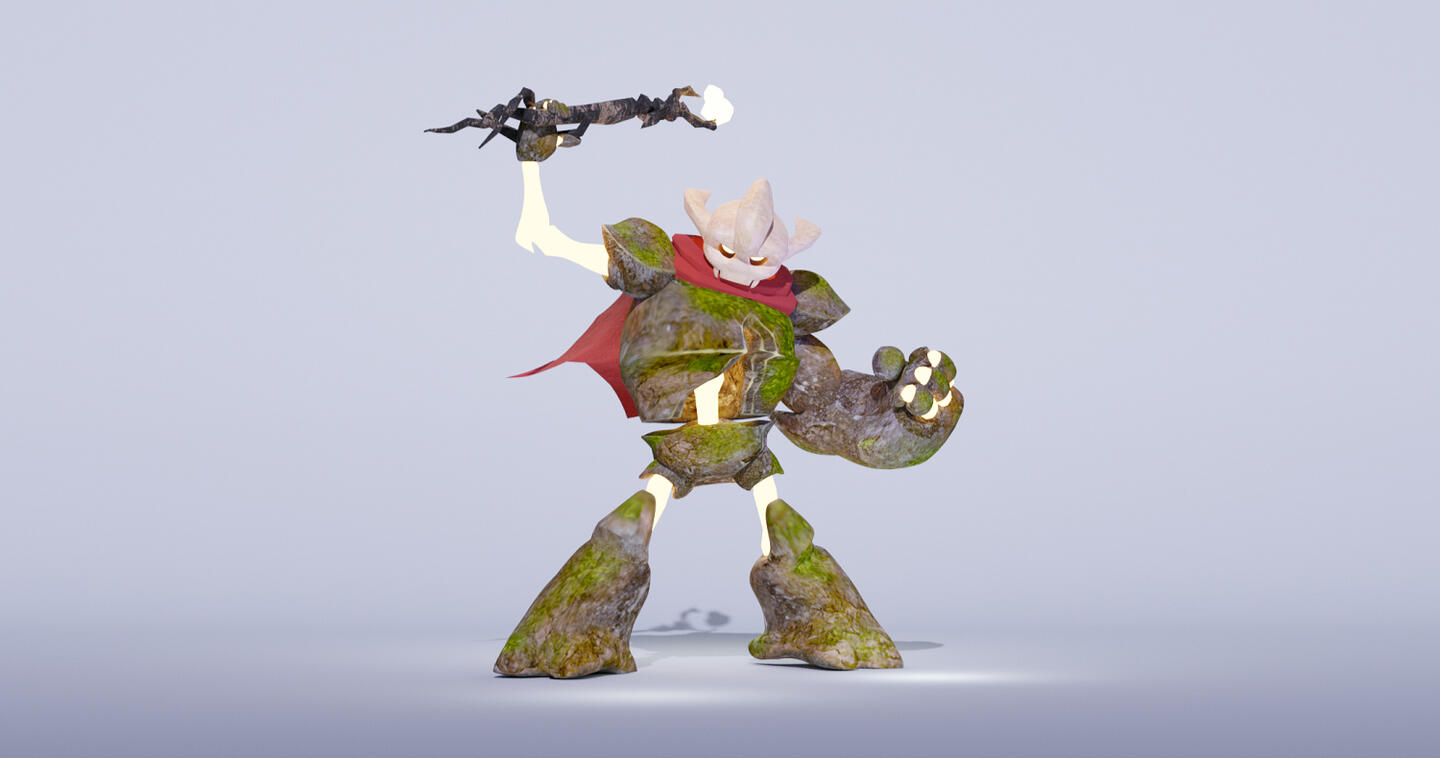
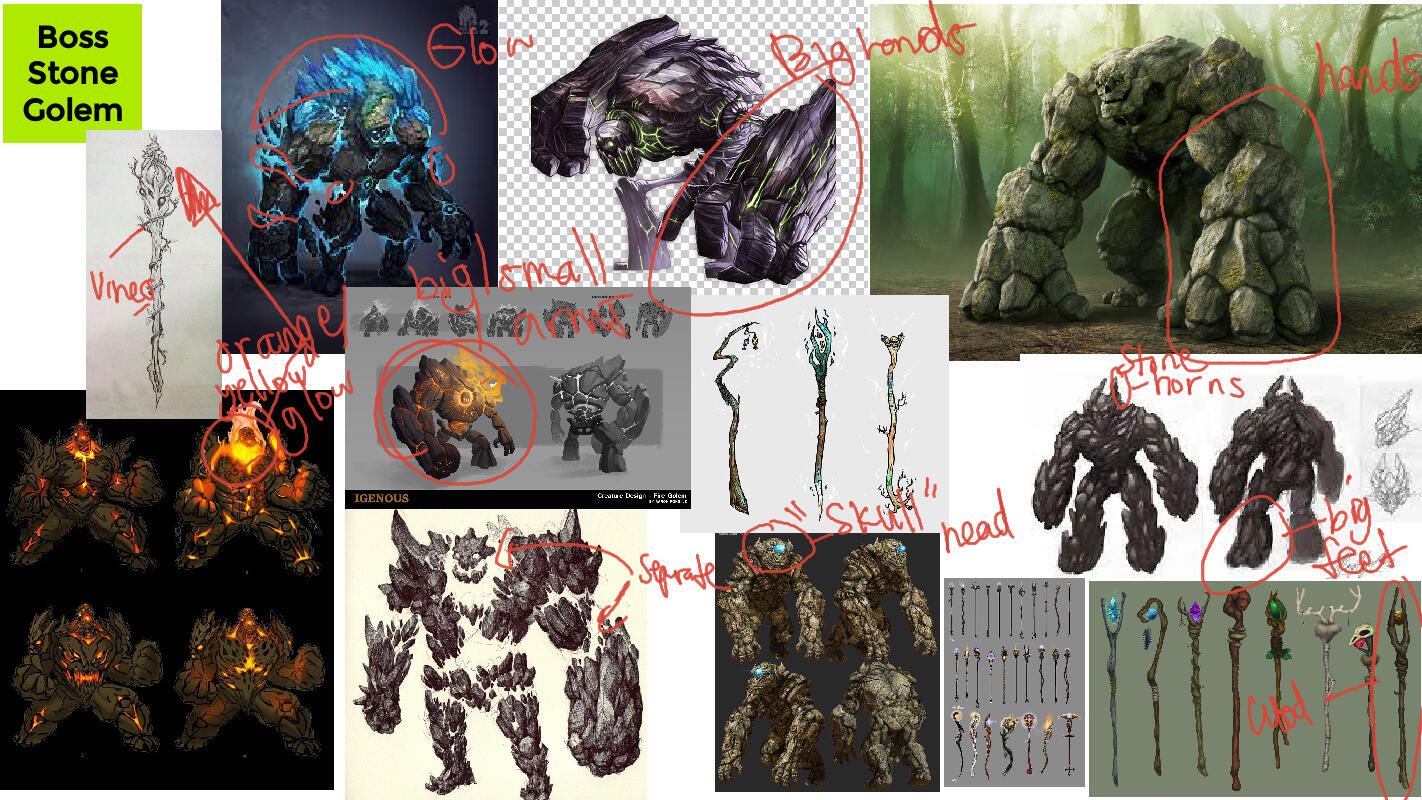
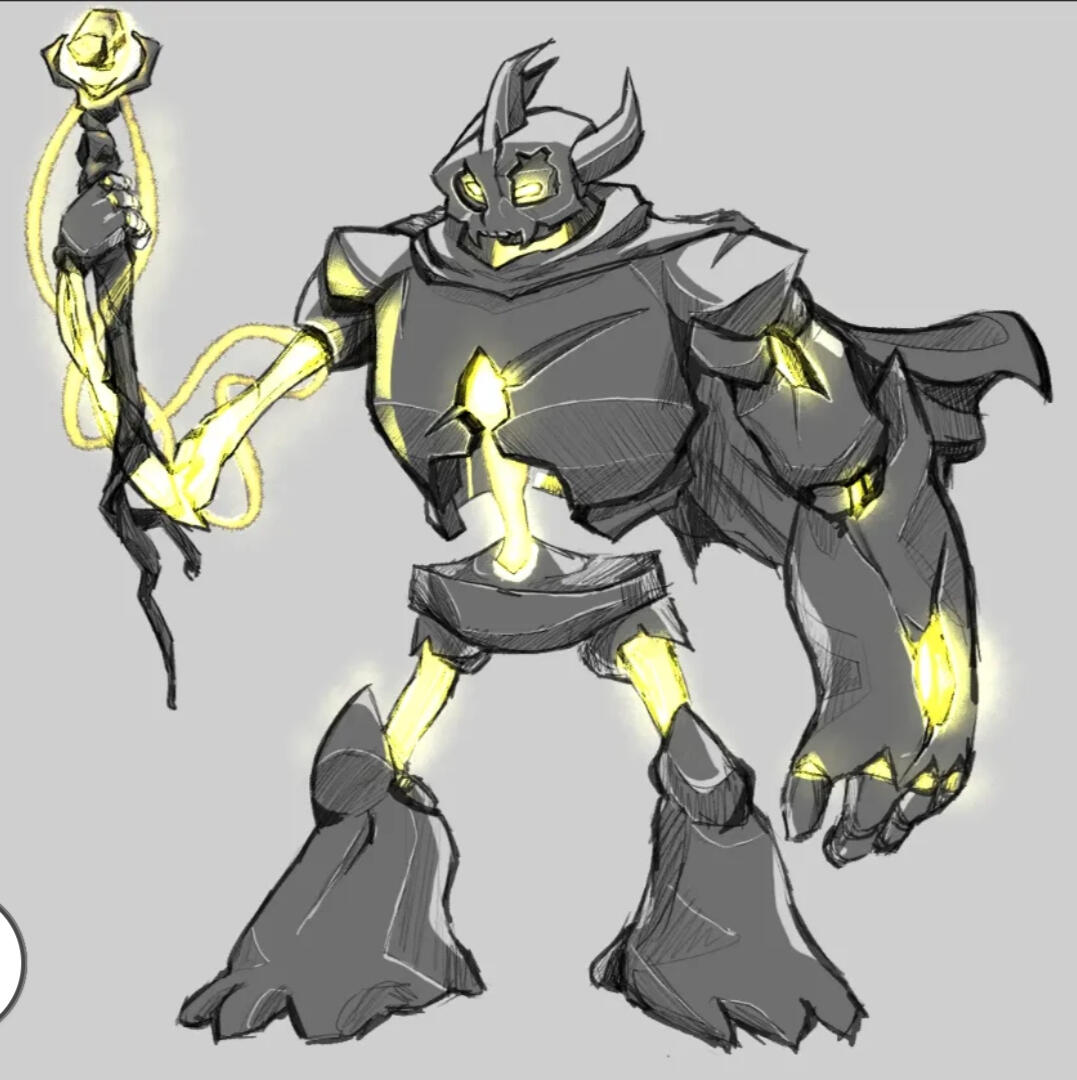
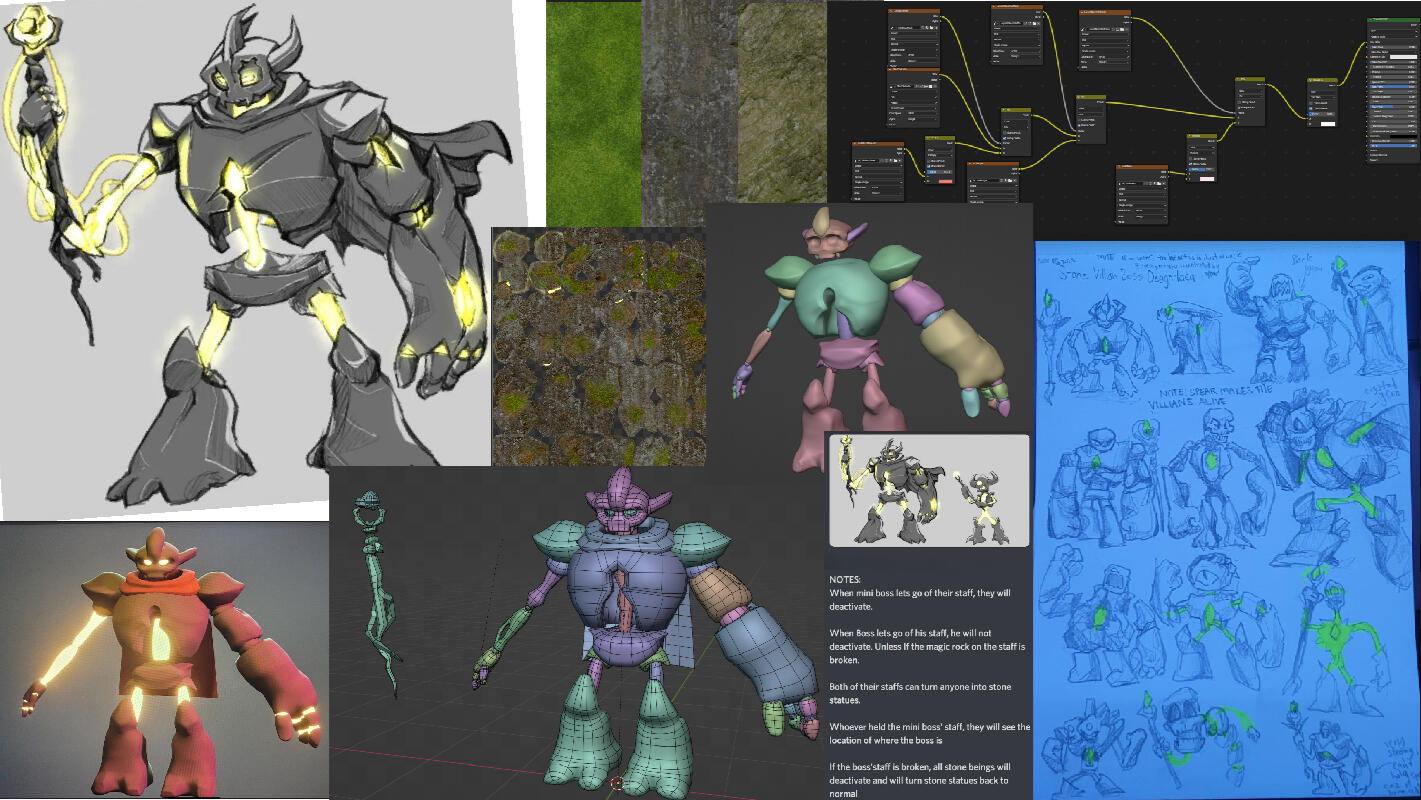
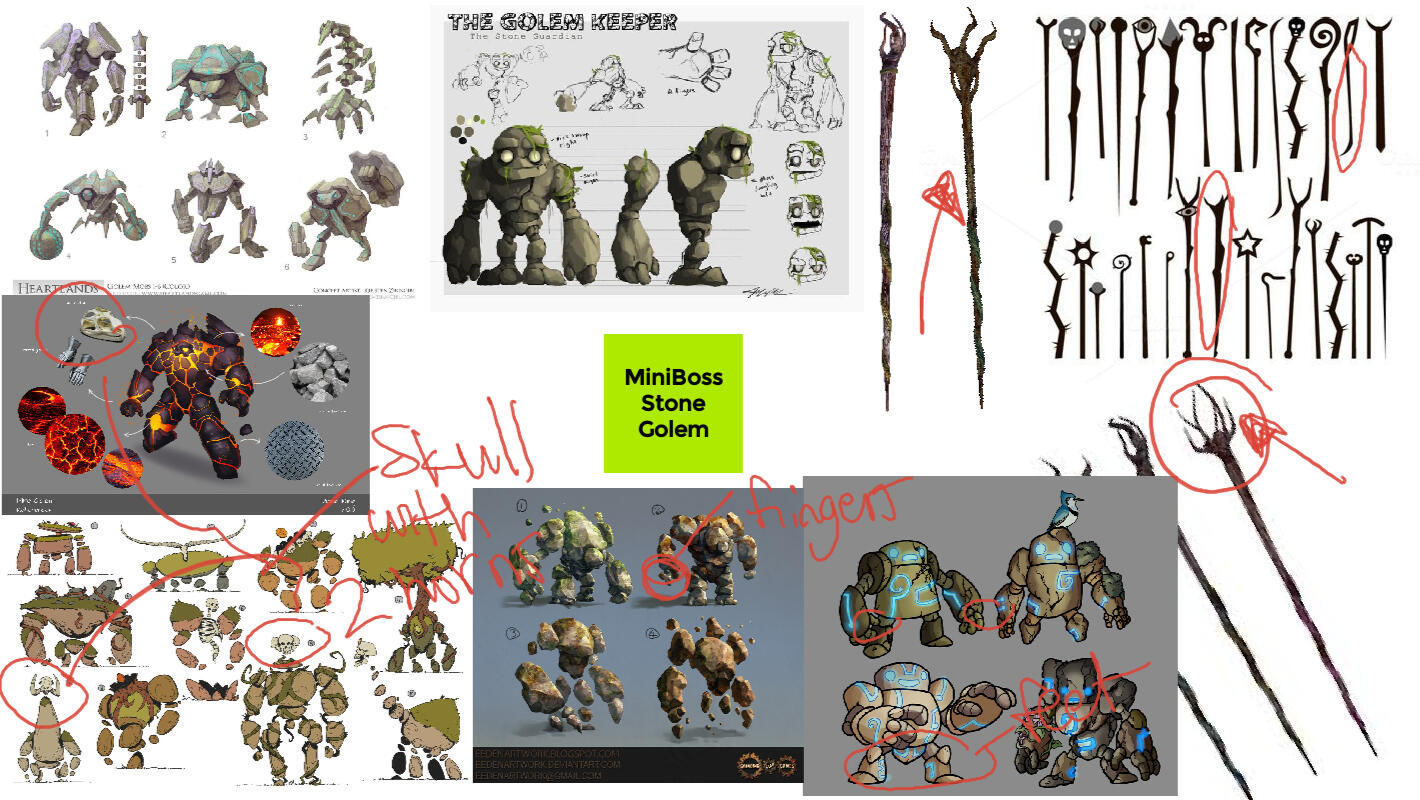
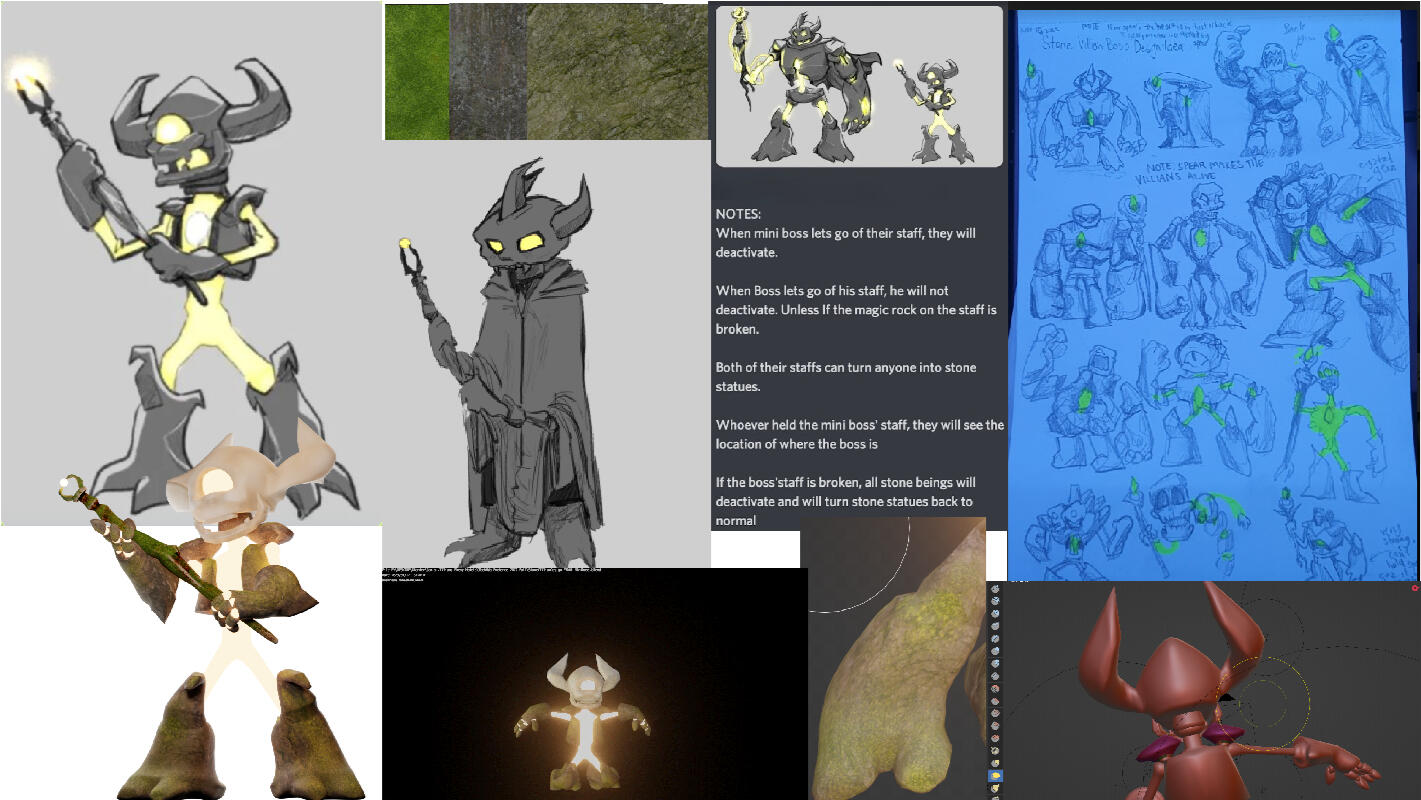
Boss Stone Golem
This Golem is an enemy of one of my characters. The Golem's other hand can lift large objects and punch through anything, and its staff has the ability to turn a living being into a stone statue. The Boss Golem and all mini Golems would deactivate if the Boss Golem's staff were destroyed.
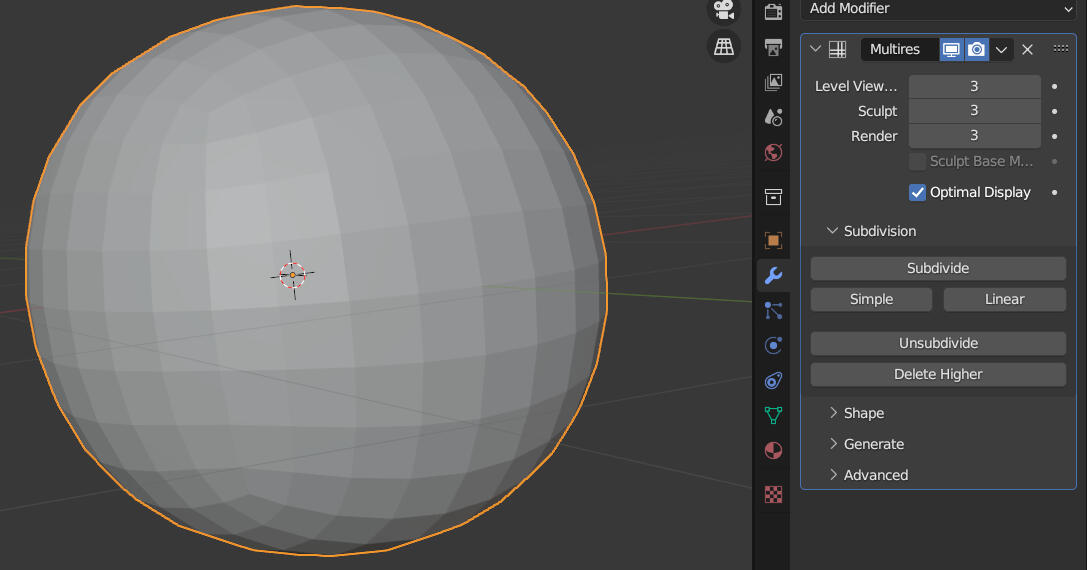
Creating this model taught me how to mix textures using masks, bake textures (combining all mixed textures into one texture map), and use the Multiresolution sculpting method. The multiresolution method, which uses the multiresolution modifier, is similar to subdividing but less laggy. You can sculpt an object with less lag while using the multires modifier and a great number of polygons (unless you subdivide it too much..).
Challenge:
Before my mentor taught us how to use masks for texture mixing in Blender, I had no idea how to do it. This tip will be very useful in the future (for texturing rocks, stains to clothing and more.)
Next Steps:
Apply scratches with a normal map (Normal maps add fake high-resolution detail to a low-resolution model). Next, learning how to add a lightning effect may make this character match its drawn character design. According to the character design, the Golem's rock parts are joined by a "glowing magic line". Additionally, whenever the Golem attacks, I can apply the lightning effect on his staff.

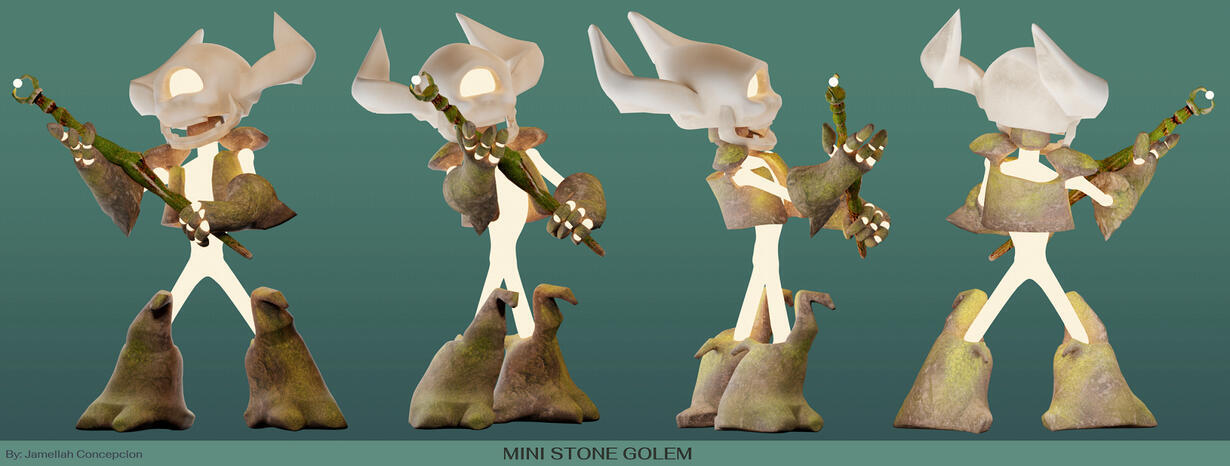
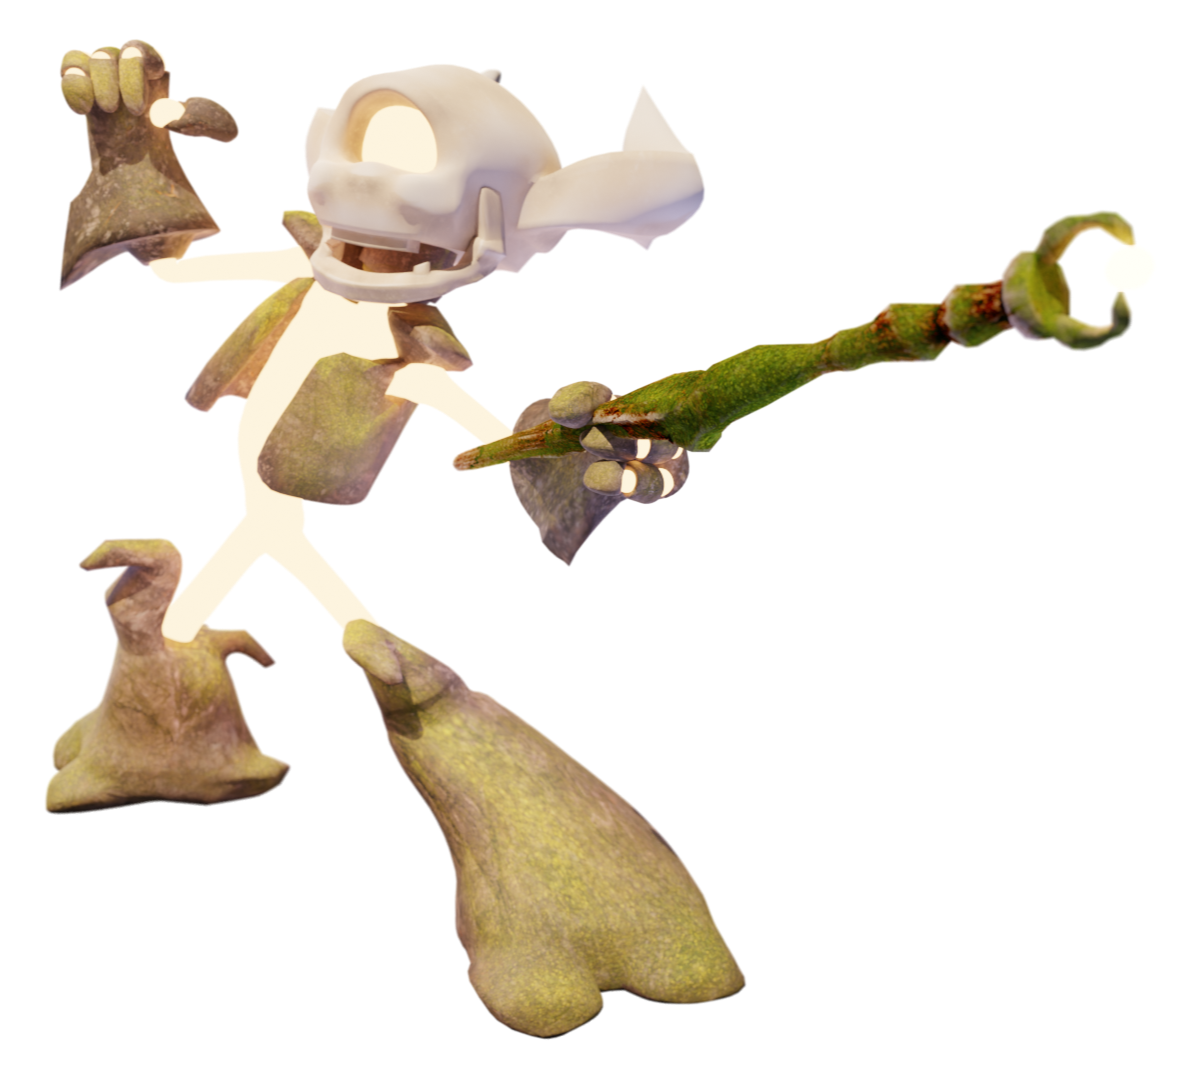
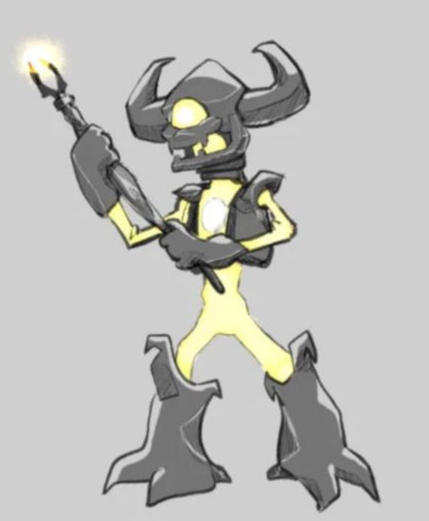
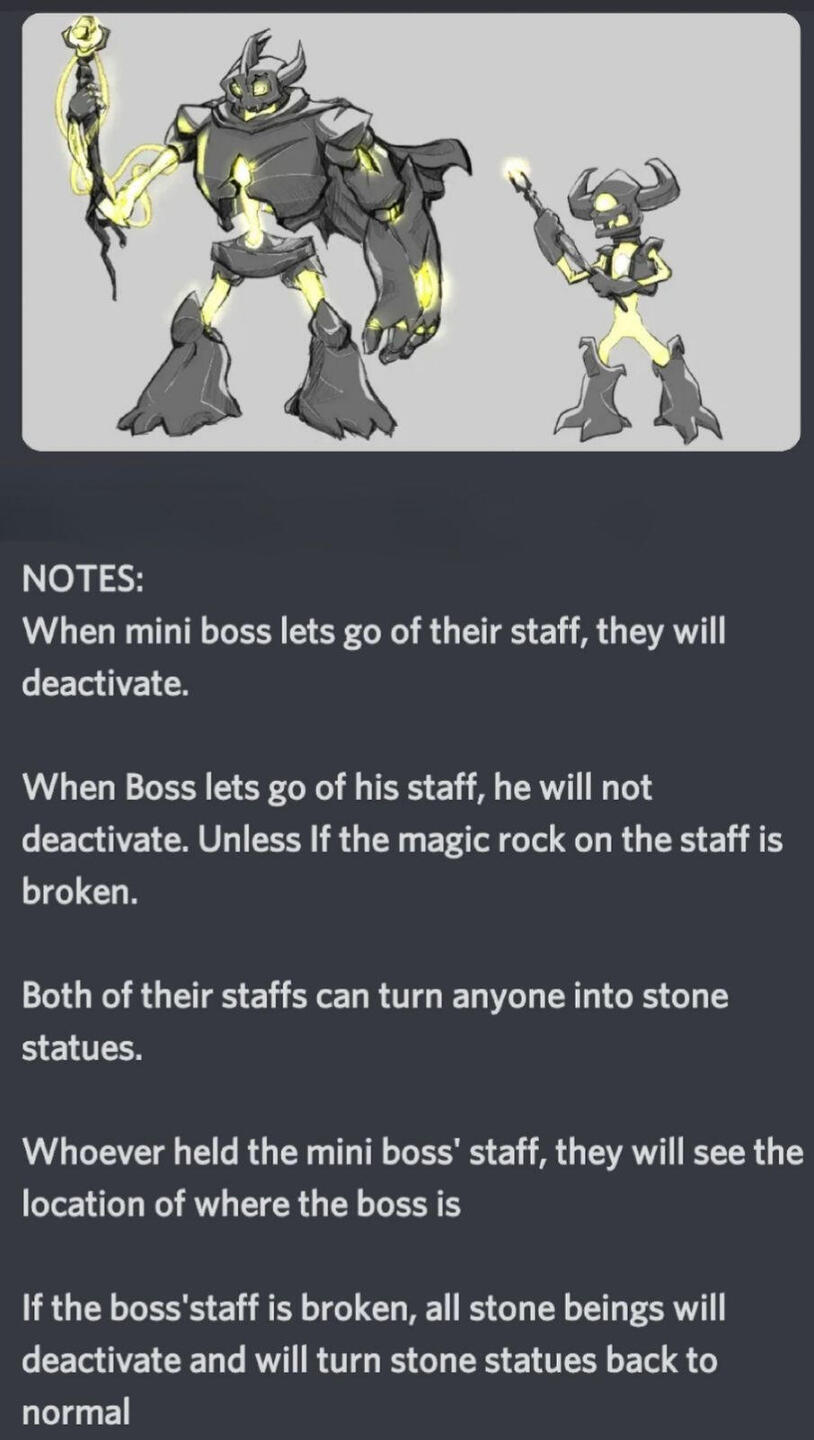
Mini Stone Golem
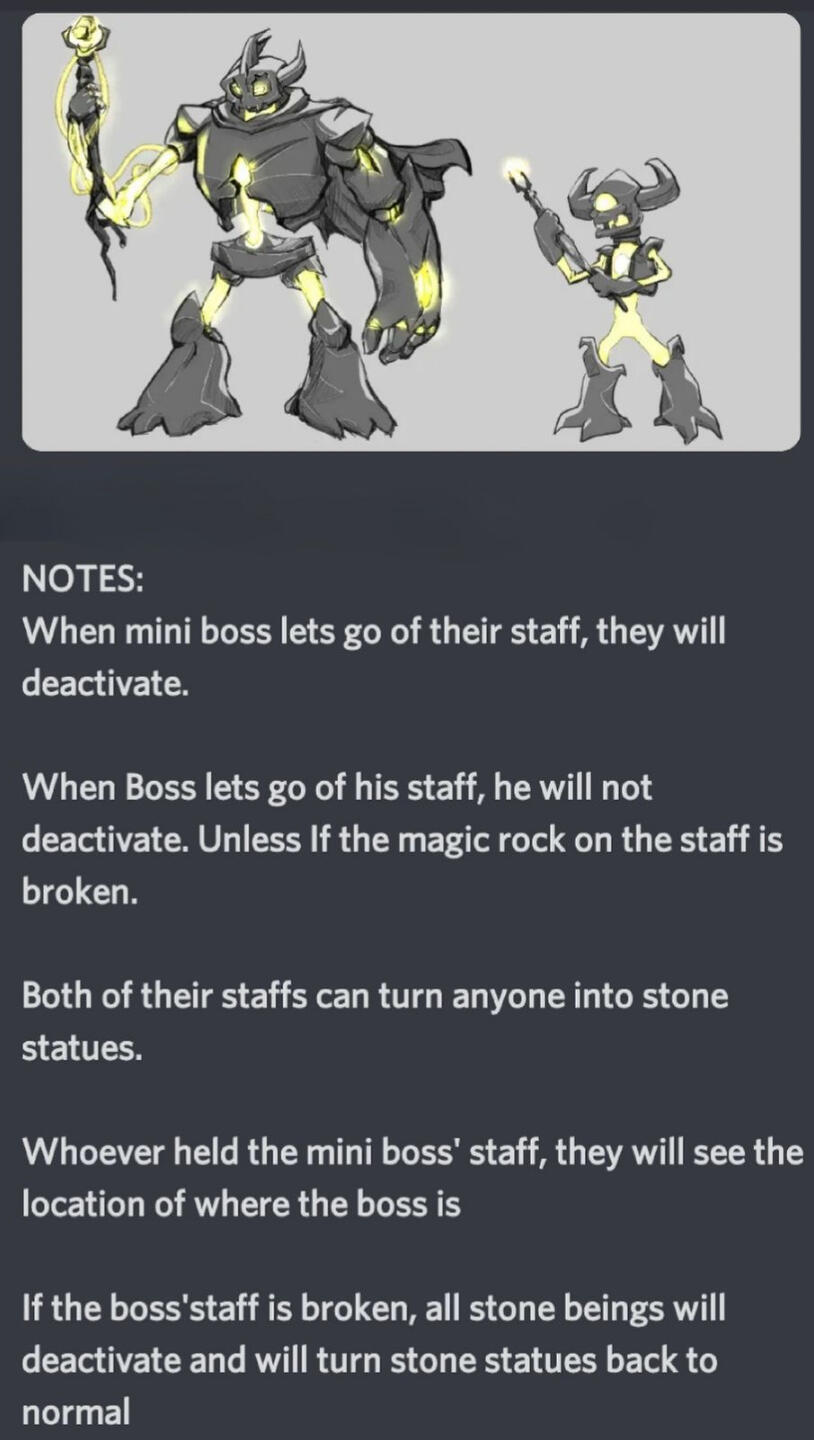
This Mini Golem is Boss Golem's little helper. Multiple Mini Golems are scattered over the area to help the Boss in turning every living thing into a stone statue with its staff. The Boss Staff is kind of different from the Mini Staff. The Mini Golem, however, will deactivate if it drops the staff and will also reveal where the Boss Golem is when it is touched by another creature.
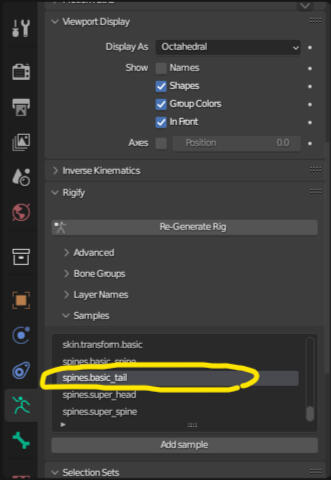
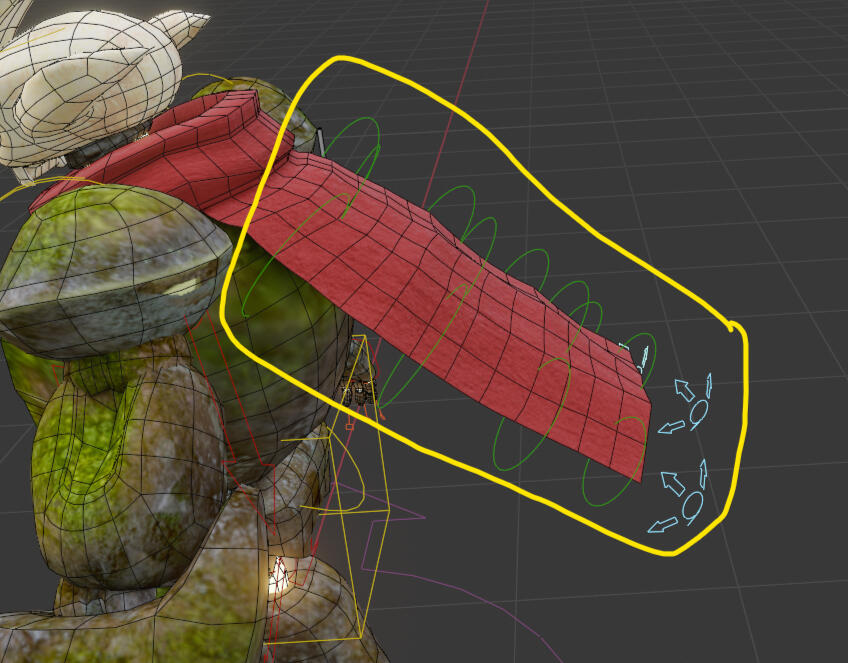
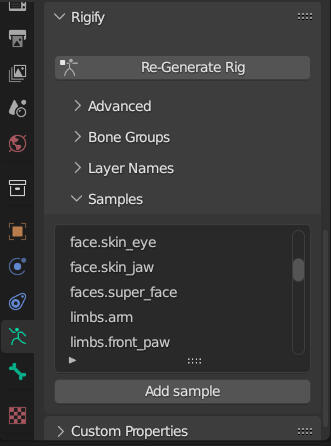
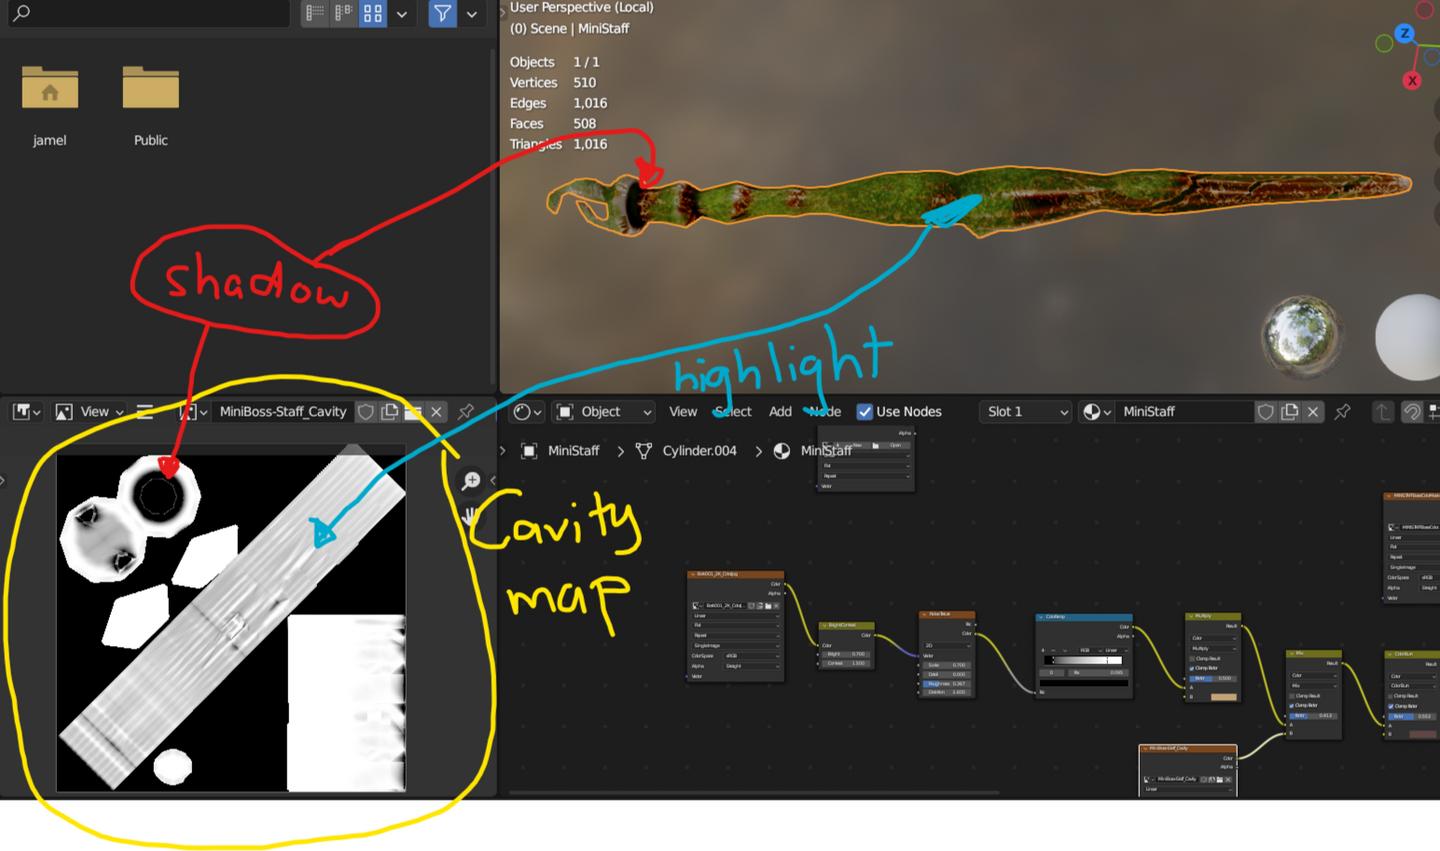
As I worked on this model, I learned how to add an extra rig (jaw) by getting samples in rigify. I also learned how to rig the rest of the Mini Golem without watching YouTube videos. Since I've been having a lot of weight paint issues with all these characters lately, I'm also getting used to fixing them. For the Mini Golem's Staff, I also discovered how to bake a Cavity map. Cavity represents the model's dark shade and highlight.
Challenge:
I've never added a jaw sample rig to a character before, so it's challenging for me to do it correctly. The jaw always twists and deforms strangely when it is moved. It was finally fixed after removing the weight paint from unnecessary bones (It's just a Weight paint issue). Rigify rig samples are extra rigs for characters that have an extra arm, two or more heads, a tail, a jaw, and other features.
Next Steps:
After learning how awesome Cavity maps can be, I would apply that to almost all of my future props to make them look cooler than they did before.
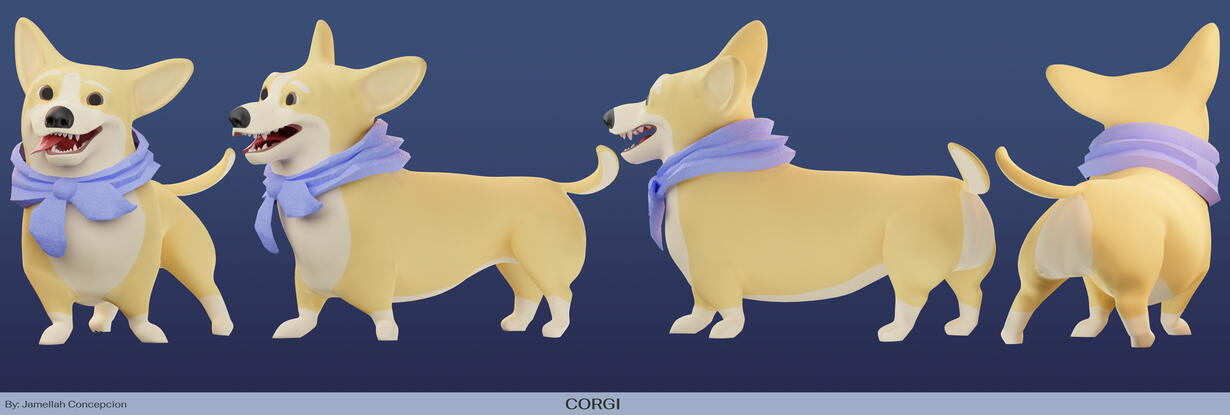
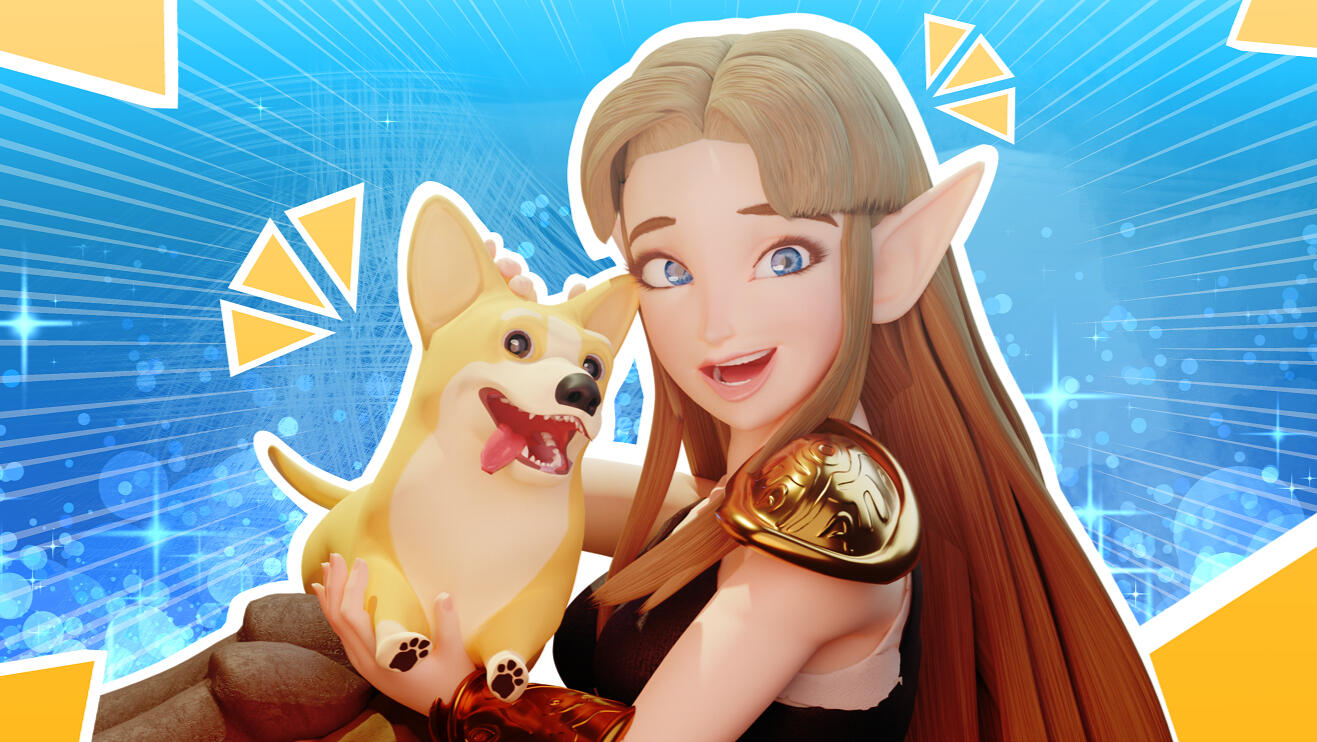
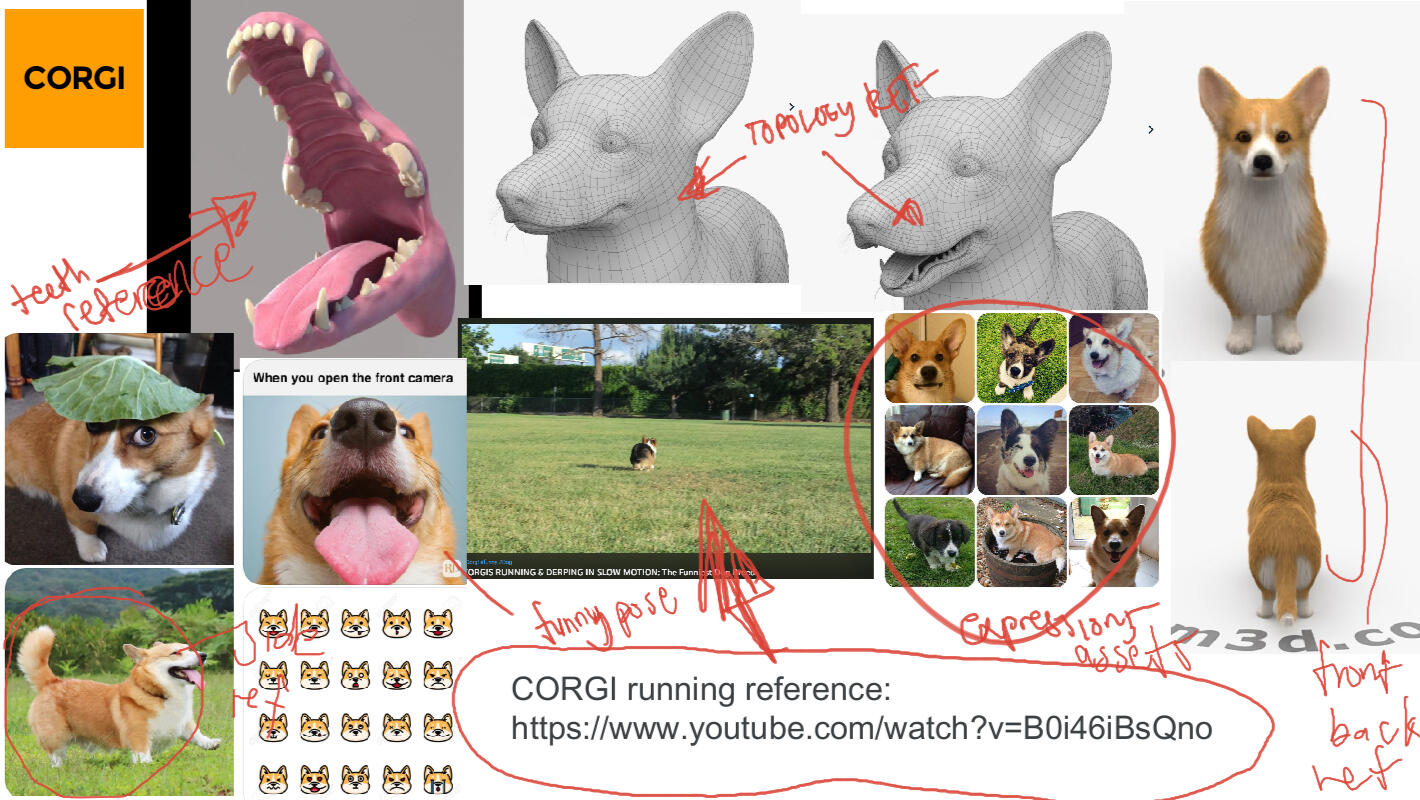
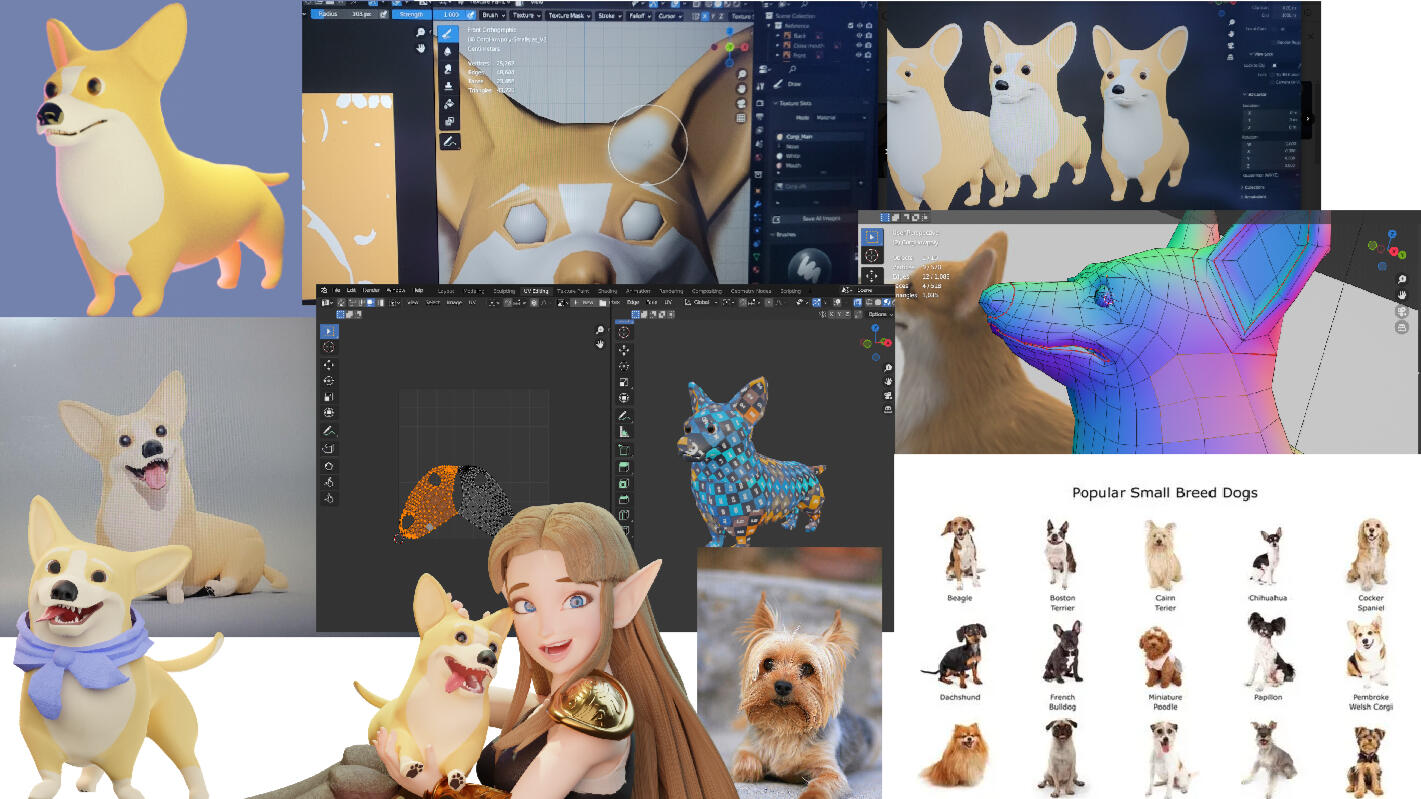
Corgi
Using Blender, I created a Corgi model for this project. It is my first Character's companion to fight the enemy who turns living beings into stone statues (Boss Golem).
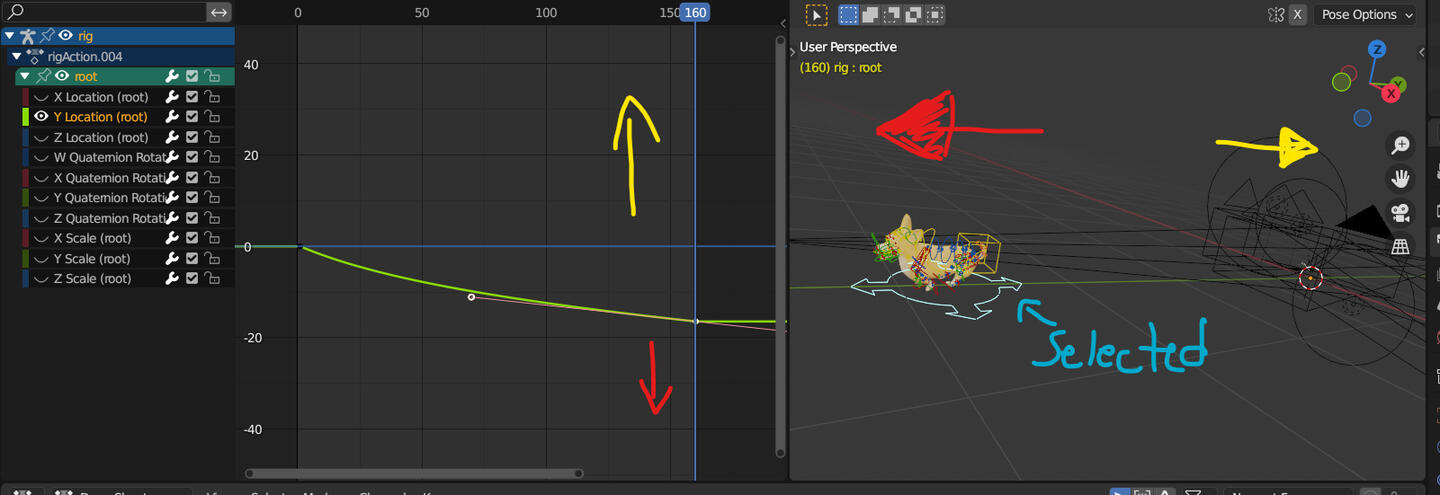
As I make this Corgi model, I learned how to model the topology of a dog with the help of my mentor's feedback and some pictures online. Topology is a structure of vertices, edges and faces of the 3D model. Topology for animated characters is important because topology reduces stretching and pinching when you animate a rigged model. I'm more used to making human topology than dogs because both beings move differently so the topology will be different (I also don't know how the dog moves). I also learned how to use the rigify dog rig. There are more rig templates in the rigify addon, there are Sharks, Cat, Dog, Humans and Horse, but in this case, I'm using dogs. I learned how to rig the dog because I watched a youtube video on where to place certain parts of the rig(ex. eyelid rig goes to the eyelids, etc.). Lastly, I learned how to use the graph editor for Animation in Blender. Graph Editor allows users to adjust/edit Animation curves so it would look better. I tried animating a dog run cycle and it turned out okay and I'm slightly getting used to it.
Challenge:
Because it was my first time modelling an animal, it took a while to model the Corgi. It is also my first time using the dog rig so I have to watch a Youtube video for that.
Next Steps:
I would like to add fur to this Corgi by exploring particles in Blender. I would also try to animate a run cycle by looking at references online so I would get used to the graph editor.